Hey Ya'll,
I've had quite the busy, fun summer; what with getting married, honeymooning, playing in many ultimate frisbee tournaments and starting teaching again, I've been neglecting this blog. But I'm back! And ready to share about my DIY double wedding bash. My sister and I decided to do a double wedding, since we were both engaged and since we are attached at the hip. We also did all the planning and lots of little DIY projects to make it budget friendly and fitting to our style. I, of course, have to give a big thanks to all our girlfriends who helped out. I suggest planning a ladies craft get-together and it's a lot more fun to DIY your wedding.
The wedding took place just outside of Yosemite at a beautiful, camping friendly property called
Paradise Springs. When planning our invitations, we knew we wanted to draw them ourselves. We finally agreed on this simple drawing that tied in the natural elements of the property that we loved so much, as well as some cute flags, reminiscent of some we created for the wedding(you'll see that later in the post).
After making copies of the design on our chosen brown paper, we prepared the invitations for mailing. We decided to stamp a small pinecone design on the back of the envelopes and we ordered a self-inking stamp for the return to sender. Best decision! We were already handwriting all the addresses, so having that stamp was a time saver and it's just fun to stamp(says the girl who played Librarian for fun as a child).


We also began saving and collecting jars about 6 months out from the wedding. In the end, we had a variety of jars for all our flower table arrangements and votives. It takes some time (and eating) but it's a great solution for rustic and FREE vases. We also were saving large cans(I think they are 28 oz.) for our table arrangements. I thought it would look nice to have our utensils and napkins at the table in the cans. This fit the informal, family-style atmosphere we were going for. I tested painting the cans in a variety of ways, first thinking that it would be nice to have the table numbers painted on the cans.
I thought better of that idea. First, it was going to take too long. And second, it might be hard to see the table numbers if they were low on the table. So I tested spray painting the cans gold and white, taping off two bands, so that some of the silver metal color would show.
We all agreed that the white cans were the best choice. Since we were going to have the tables covered in brown butcher paper, the white cans would compliment and contrast the table better than gold. The brown butcher paper was another great FREE solution. Claire had a large roll of it from her college days, so we just used that and after the meal, it was a quick and easy clean-up.
On one of our crafting days we did this table mock-up to test out the arrangement.
This gives you an idea of what the table arrangements looked like on the day, but it's missing the little flags we stuck in the jars for the table numbers. Oh well!
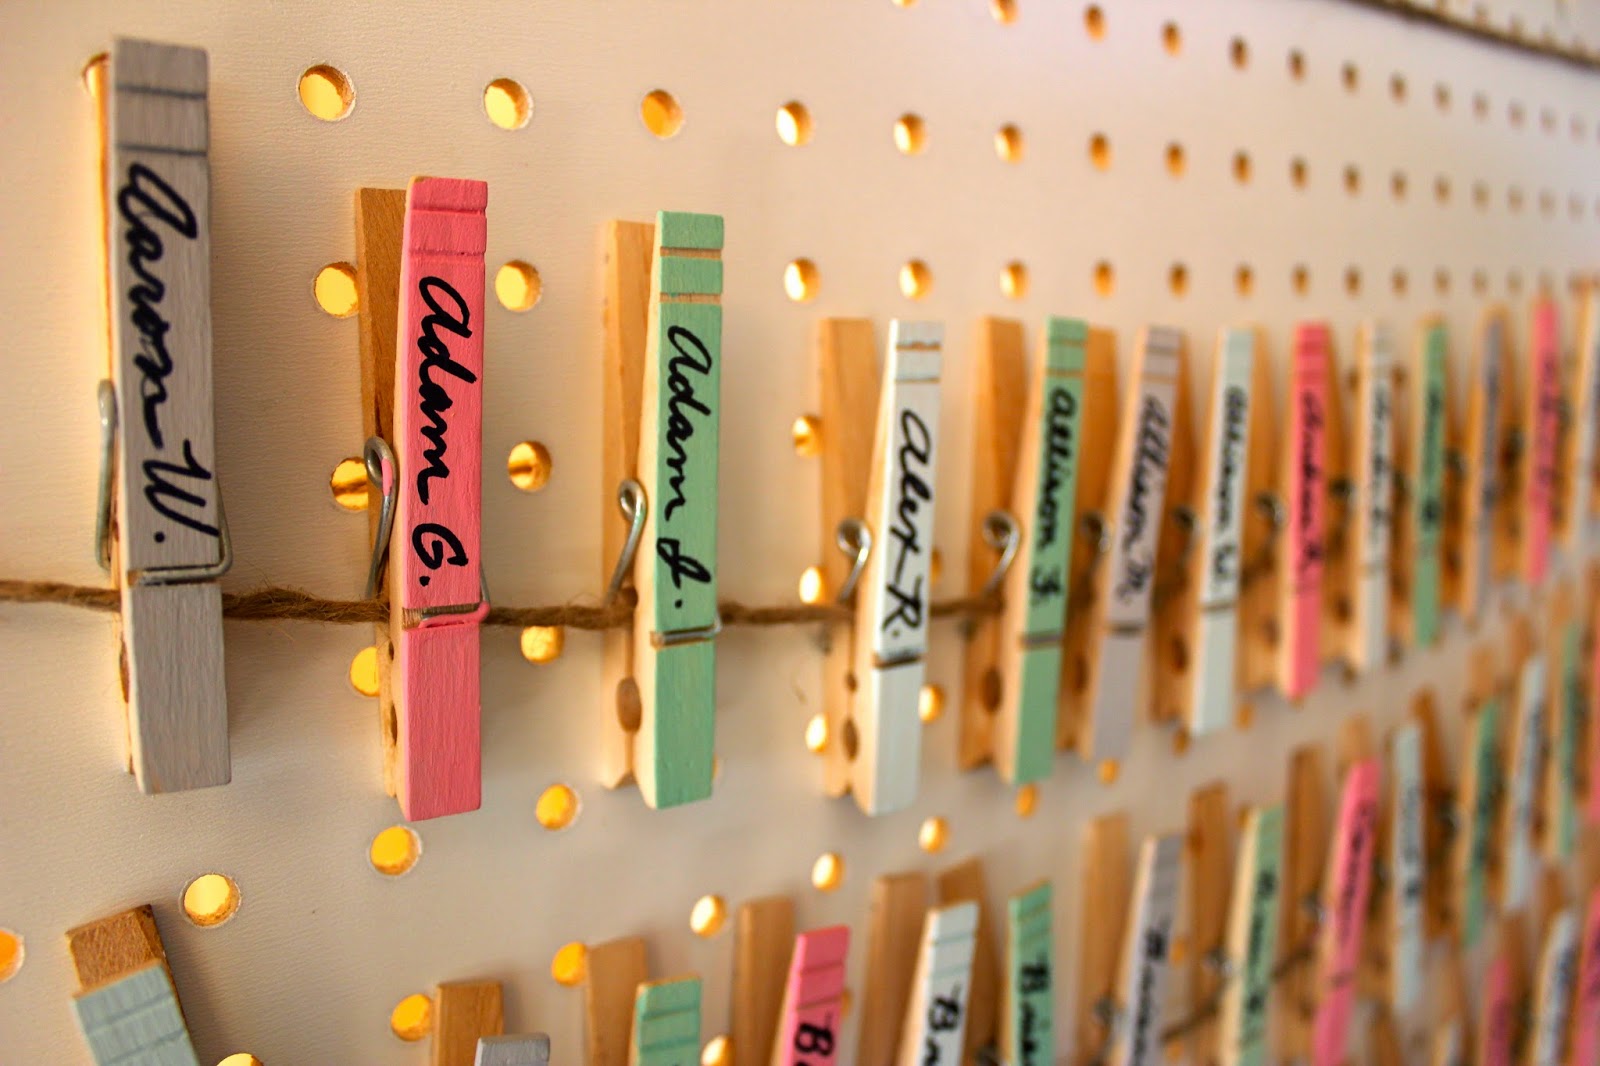
Another DIY project I want to share is our table seating board. First, we bought an inexpensive peg board. Then we painted about 200 clothespins in a shades of pastel. Next, we tied twine lines along the board and then labeled the clothespins with out guests' names and their table number. Finally, we arranged the names alphabetically on the board and voila, a fun, DIY table seating chart. It kind of irks me to put these photos on the blog, but they're my only option. As you can see, SEATING is misspelled (that's what happens when you're exhausted from crafting and you just throw on the letters for a quick picture of the process). Don't worry, on the wedding day, it was all spelled correctly; Claire, the editor, made sure of that.


At the reception guests grabbed the clothespin with their name on it and placed it at their seat, or better yet, clipped it to their clothing. Here's a shot of the reception area during set-up before the ceremony, and another shot of the guests mingling around the tables right before dinner. So pretty!


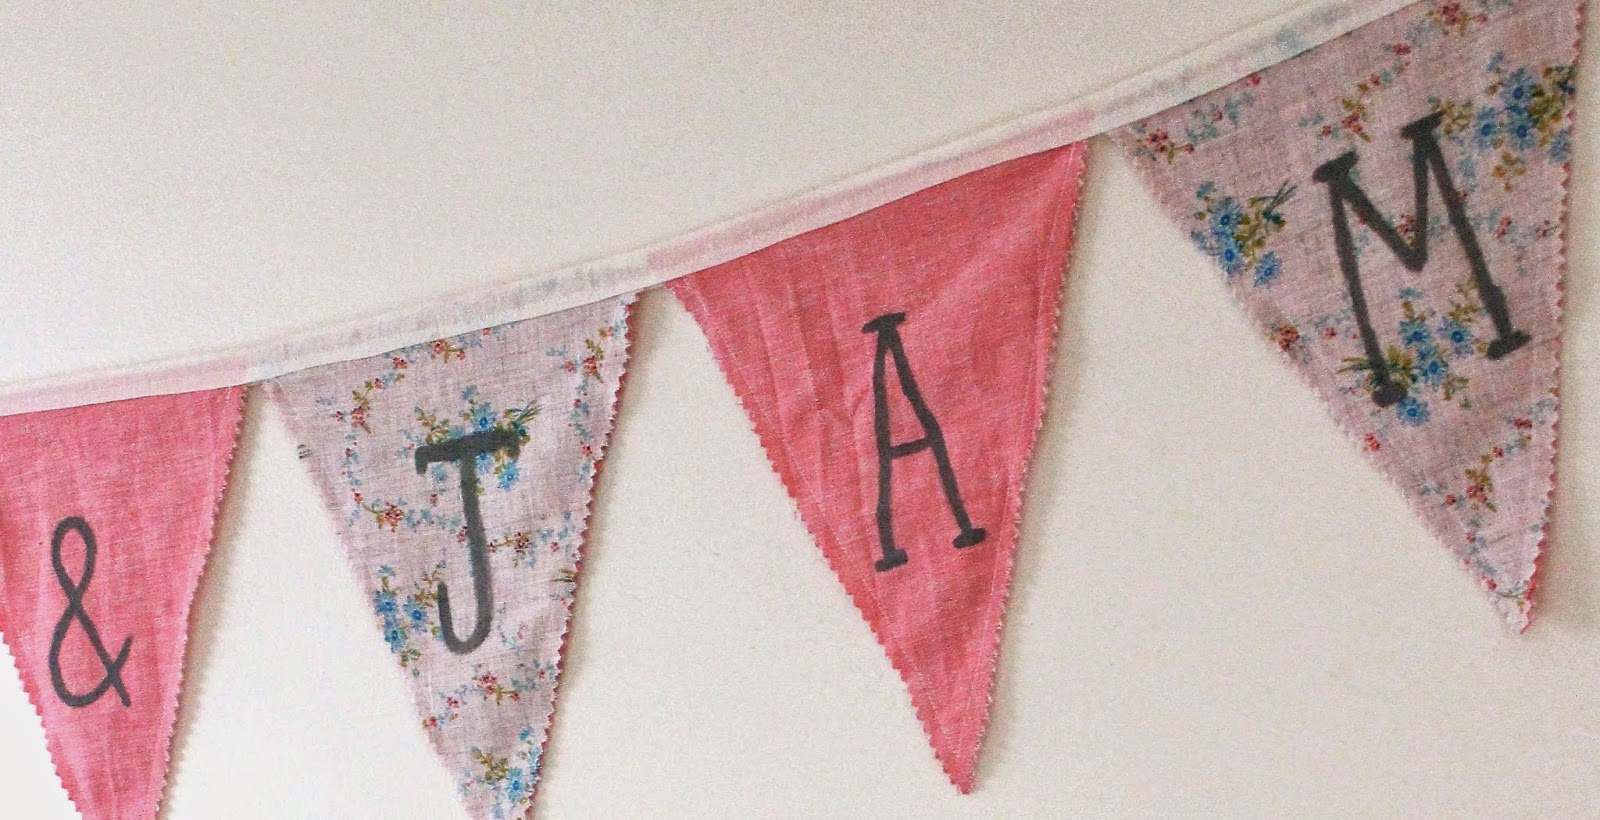
And finally, my favorite DIY project for the wedding was the bunting flags. I found some old, adorable fabrics from my parent's house, and sewed two bunting banners. On one I painted Claire & Mike and on the other I painted Alden & James. I wasn't sure where we would put them for the wedding, but we ended up finding the perfect spot for them- hanging behind us at the ceremony (that's me and James on the right, Claire and Mike on the left, and our uncle, Denis as the officiant). Can you see the flags hanging in the background? I also added a photo of us walking under the flags after the ceremony- it makes me smile, and I want you to see the back of my dress(hehe). Now James and I have our banner hanging over our couch at home. It's not only a cheerful wall hanging, but it's a reminder of that wonderful day.